Troubleshooting Heat Pump Problems: Expert Solutions for Heat Pump Not Heating and Related Issues
A heat pump is a mechanical HVAC system that moves heat between indoors and outdoors to provide efficient heating and cooling, and timely troubleshooting preserves comfort, reduces energy bills, and extends equipment life. This guide shows how to diagnose the most common heat pump problems—from weak airflow and refrigerant issues to defrost failures and electrical faults—so homeowners can take effective DIY steps and know when to get professional help. You will learn symptom-to-cause mapping, safe inspection steps, and the difference between homeowner fixes and technician-level repairs, with clear signals that indicate refrigerant handling, reversing valve work, or electrical service is required. The article is organized into focused sections that cover performance problems, freezing and defrost behavior, noise diagnostics, cycling and run-time issues, electrical faults, and preventive maintenance. Throughout, related entities such as thermostats, air filters, capacitors, and defrost cycles are referenced to help connect symptoms to components. Read on for step-by-step checks, EAV tables that map symptom → cause → action, and practical lists designed for featured-snippet style answers.
Why Is My Heat Pump Not Heating or Cooling Properly? Common Causes and Fixes
A heat pump failing to heat or cool properly usually stems from restricted airflow, control/thermostat issues, low refrigerant, or component failures like a stuck reversing valve, and diagnosing starts with simple checks that reveal whether the problem is DIY- or technician-level. Restricted airflow reduces the unit’s heat exchange capability, causing long run times and poor temperature change, while low refrigerant or reversing valve faults directly reduce the system’s thermal transfer effectiveness. Homeowners should begin with basic verification—thermostat settings, filter condition, and breaker status—then progress to outdoor-unit inspections to identify visible obstructions or ice. Understanding these layered causes helps prioritize safe checks and avoids unnecessary service calls when a quick filter change or thermostat reset will restore performance.
Inspect these quick DIY items before calling a technician:
- Check thermostat settings and mode to ensure the system is set to heat or cool as intended.
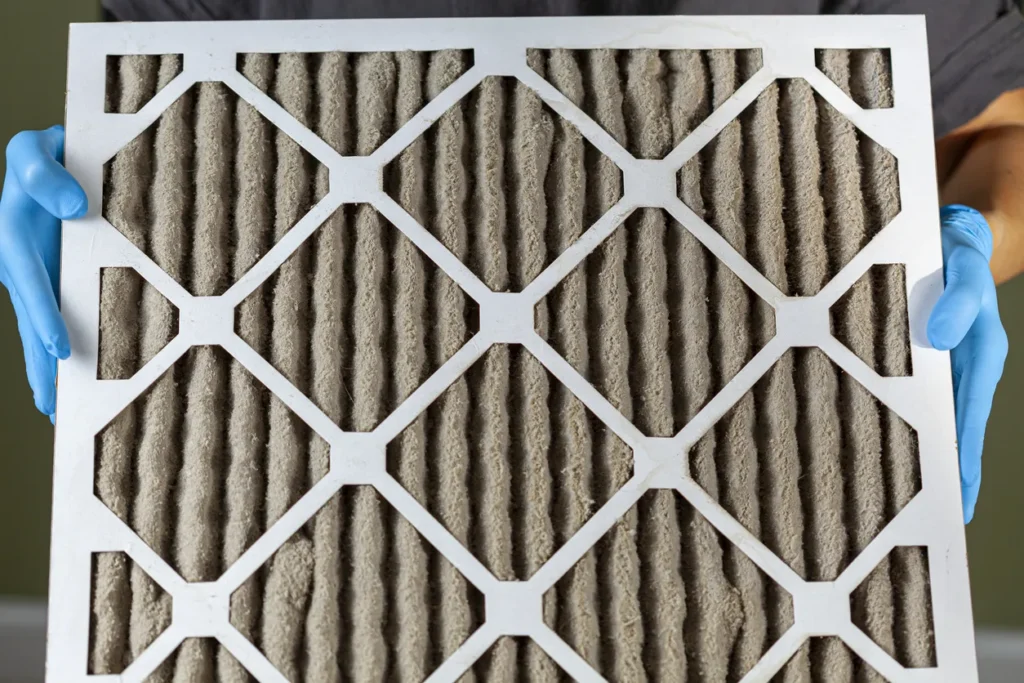
- Inspect and replace clogged air filters; restricted airflow is a leading cause of performance loss.
- Verify circuit breakers and the outdoor-unit disconnect are in the ON position and show no tripped breakers.
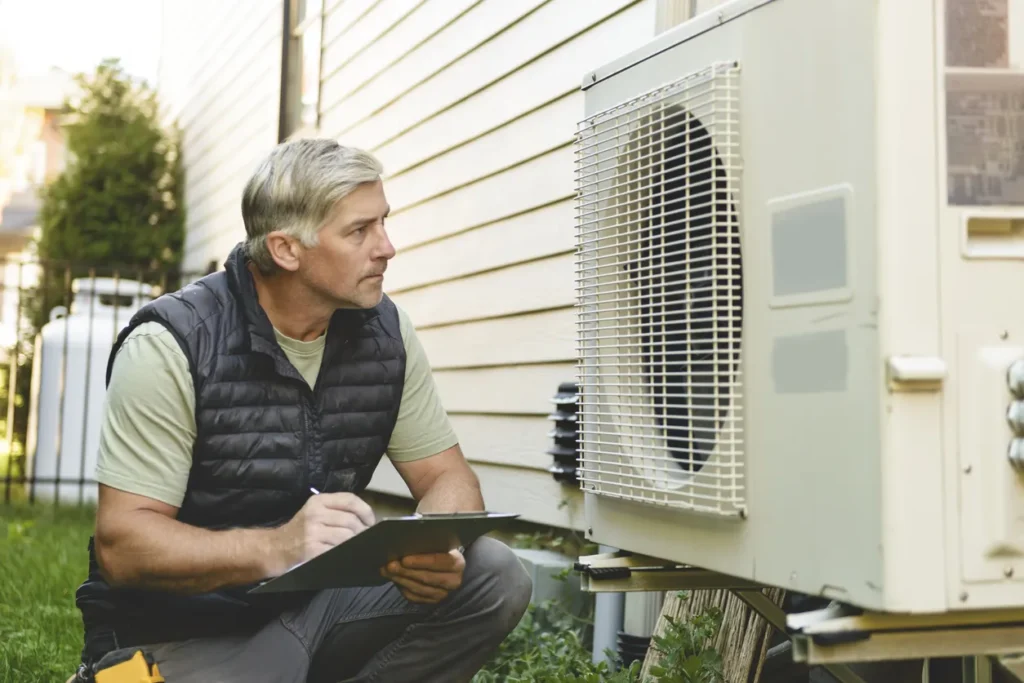
- Clear debris from the outdoor unit and ensure adequate airflow around the condenser/condenser fan.
These homeowner checks remove common faults and often restore normal operation; if performance remains poor after these steps, the issue likely involves refrigerant, reversing valve, or compressor problems that require certified service. The next subsection explains how dirty air filters directly reduce heat pump capacity and create secondary symptoms that mimic refrigerant loss.
How Do Dirty Air Filters Affect Heat Pump Performance?

Dirty air filters restrict the volume of air moving across the evaporator coil, which reduces heat transfer and forces the blower motor and compressor to work harder to maintain setpoint temperatures. This mechanism increases energy use, causes longer run times, and raises the chance of short cycling or coil icing in some conditions. Replacing a clogged filter typically restores airflow and can reduce runtime by improving heat exchange efficiency, especially when filters are matched to the system’s required MERV rating and installed correctly. Regular inspection—monthly for high-use or pet households, quarterly otherwise—helps households spot filtering issues early and prevents secondary component stress that would otherwise necessitate technician intervention.
Filter maintenance is a primary preventive measure because improved airflow protects the evaporator coil and supports stable refrigerant pressure, which leads naturally into identifying low refrigerant symptoms that can mimic airflow-restricted systems.
What Are the Signs of Low Refrigerant and When Is Professional Repair Needed?
Low refrigerant often shows as reduced heating capacity, ice buildup on the outdoor evaporator coil, hissing or bubbling noises near refrigerant lines, and abnormally long run cycles; these symptoms can overlap with airflow restrictions but are distinguished by pressure and temperature patterns a technician measures. Refrigerant handling and leak repair require certification and proper equipment because refrigerants are regulated and charging without leak repair compounds the problem—this is not a homeowner task. If you observe ice on coils after verifying clean filters and proper airflow, or you hear persistent hissing near line sets, stop DIY charging attempts and call a certified technician for leak detection and refrigerant recharge. A professional will conduct a pressure test, repair leaks if present, and restore refrigerant to manufacturer specifications to ensure the system operates safely and efficiently.
This symptom-focused mapping clarifies immediate homeowner actions and when to escalate to technician-level diagnosis; the table below summarizes common symptoms, likely causes, and immediate steps you can take.
| Symptom | Likely Cause | Immediate Action |
|---|---|---|
| Blowing cold air in heat mode | Thermostat/mode error, low refrigerant, reversing valve issue | Verify thermostat mode and temperature, check filters and breakers, call tech if refrigerant suspected |
| Long run times with little temperature change | Restricted airflow, low refrigerant, failing compressor | Replace/clean filter, clear outdoor debris, schedule professional diagnostic if persistent |
| Ice on outdoor coil | Low airflow, low refrigerant, defrost failure | Turn system to heat or power off outdoor unit if heavy ice, check filters, call tech for refrigerant/defrost checks |
| Hissing near lines | Refrigerant leak | Stop DIY charging and call certified technician for leak detection and repair |
This table highlights which issues can be safely addressed at home and which require certified refrigerant handling or component replacement; when refrigerant or reversing valve work is likely, professional service is required.
What Causes Heat Pumps to Freeze Up and How Can I Fix It?
Heat pump freezing occurs when either the refrigerant pressures fall below normal or airflow across the evaporator coil is inadequate, and the system’s defrost control either fails to clear accumulating frost or is overwhelmed by persistent icing conditions. A functioning defrost cycle periodically reverses or de-energizes the outdoor coil heating element to melt frost, but failures in sensors, control boards, or timers prevent timely defrosting and allow ice to build. Homeowners should first check airflow (filters, return vents, outdoor-unit clearance) and then observe defrost timing; turning the system off and allowing manual defrost can be a short-term remedy but persistent icing indicates a deeper issue. Distinguishing between airflow-related icing and refrigerant-caused ice is essential because the required actions diverge—airflow fixes are commonly DIY, while refrigerant or defrost control repairs need professional attention.
Immediate safe checks for outdoor icing and defrost behavior:
- Inspect and change the indoor air filter to restore normal airflow.
- Ensure outdoor unit fins are free of leaves, grass, or debris to permit adequate airflow.
- Observe the defrost cycle duration: normal defrost runs briefly and clears visible frost; prolonged heavy ice during defrost suggests a control or refrigerant problem.
If ice returns after cleaning and restoring airflow, the system should be evaluated for low refrigerant or defrost control faults; the next subsection explains the defrost cycle components and failure modes that technicians test.
What Role Do Refrigerant Levels and Airflow Play in Heat Pump Freezing?
Low refrigerant reduces coil pressure and temperature, producing surfaces cold enough to accumulate ice, while restricted airflow from dirty filters or blocked returns prevents adequate heat transfer and exposes the coil to prolonged subfreezing conditions. Differentiating these causes relies on pattern recognition: refrigerant-induced freezing often occurs even with clean filters and unobstructed airflow, whereas airflow-induced freezing typically resolves after filter replacement or outdoor-unit clearing. A practical diagnostic sequence is to check and restore airflow first, observe whether icing recurs, and then escalate to professional refrigerant pressure testing if ice persists. Technicians use pressure gauges and temperature measurements to confirm low charge and perform leak detection and repair; because refrigerant handling is regulated, certified technicians should perform these service steps.
A brief case note on professional diagnosis: Jones Heating & Air Conditioning commonly diagnoses defrost cycle failures and refrigerant-related icing by measuring pressure/temperature profiles and testing defrost sensors; emergency seasonal checks are recommended when recurring ice appears during transitional weather.
What Do Strange Noises from My Heat Pump Mean and How Can I Address Them?
Strange noises from a heat pump signal mechanical or airflow problems ranging from loose panels and debris to refrigerant leaks or motor bearing failure, and identifying the noise character quickly narrows the likely component at fault. Rattling often indicates loose exterior panels or debris striking the fan, hissing suggests refrigerant pressure anomalies or airflow across damp surfaces, and grinding or squealing typically points to motor bearings or fan-motor deterioration. Homeowners can perform safe visual inspections for loose fasteners, foreign objects, and fan blade damage, but persistent or metallic grinding noises indicate internal motor or compressor issues requiring professional disassembly and replacement. Timely attention to unusual sounds prevents escalation: a loose panel left unchecked can lead to a bent fan blade, which can then cause motor overload and electrical faults.
Common noise-to-cause mappings homeowners should know:
- Rattling: Loose panels or debris—tighten screws and clear debris; if noise persists, call tech.
- Hissing: Possible refrigerant leak or pressure equalization—document location and call certified technician.
- Grinding/Squealing: Motor or bearing failure—shut down to prevent damage and schedule professional service.
These quick mappings let homeowners take immediate safe steps while preparing useful details for technicians; the next subsection outlines when a technician is required and what information helps expedite diagnostics.
What Are Common Heat Pump Noises Like Rattling, Hissing, and Grinding?
Rattling noises usually come from loose access panels, mounting brackets, or debris in the outdoor unit and can often be resolved by visually securing panels and clearing nearby vegetation, which restores stable operation without component replacement. Hissing noises near copper lines or fittings may indicate a refrigerant leak or pressure equalization and should be documented with time and operating mode because such leaks require certified detection and repair to avoid further system damage. Grinding or metallic scraping suggests bearing wear or failing fan motors; these mechanical faults typically worsen and can damage the compressor if the unit continues to run, so shutting down the system and contacting a technician is prudent. Distinguishing sound sources by location—outdoor vs indoor unit—helps prioritize safe homeowner actions versus immediate professional intervention.
Recording the noise pattern and operating conditions is a useful step before calling for service because it creates a semantic triple: [Heat pump noise] → indicates → [component failure], which technicians use to focus diagnostics.
What Are Common Electrical Problems in Heat Pumps and How Can I Diagnose Them Safely?
Electrical faults in heat pumps include breaker trips, failed capacitors, burnt contactors, or loose wiring, and safe homeowner diagnostics are limited to visual checks and power verification while leaving live electrical testing to licensed technicians. Circuit breakers that trip repeatedly indicate overloads or short circuits and should prompt checks for stuck contactors, seized motors, or compressor current draw abnormalities; homeowners can verify that breakers are in the ON position and inspect for obvious burned wiring or smells. Capacitor failures often present as humming motors, slow startups, or no-start conditions and require capacitor testing and safe discharge procedures that are technician tasks. Emphasizing safety, homeowners should always shut power at the outdoor-disconnect before any visual inspection and never open electrical enclosures or test live circuits without professional qualifications.
A safe homeowner diagnostic sequence includes power OFF visual checks, then professional electrical testing if abnormalities are found; the following subsections explain component impacts and safety precautions.
How Can Regular Maintenance Prevent Heat Pump Problems and Extend System Life?
Regular maintenance preserves heat pump efficiency, prevents common failures, and extends system lifespan by ensuring filters, coils, refrigerant charge, and electrical components operate within manufacturer tolerances, and routine tuning reduces both emergency repairs and running costs. A professional tune-up typically includes filter inspection or replacement, coil cleaning, refrigerant pressure check, lubricating moving parts, testing capacitors and contactors, and verifying defrost controls and thermostat calibration; these combined tasks improve energy efficiency and reduce component stress. Homeowners benefit from scheduled maintenance because early detection of minor issues—loose fan blades, low refrigerant, or dirty coils—prevents escalation into compressor or reversing valve failures, preserving both comfort and resale value. The maintenance checklist below outlines core tasks and distinguishes homeowner tasks from technician responsibilities.
Maintenance tasks that keep systems reliable and efficient include the following:
- Change or inspect air filters on a regular schedule and clear returns and vents for proper airflow.
- Clean outdoor coil fins gently and remove debris; keep at least two feet clearance around the outdoor unit.
- Schedule an annual professional tune-up for refrigerant, electrical, and defrost control checks to ensure safe and efficient operation.
These preventive steps reduce unplanned failures and improve seasonal performance; the table that follows quantifies recommended intervals and the cost-impact relationship.
| Maintenance Task | Recommended Frequency | Cost Impact |
|---|---|---|
| Air filter inspection/replacement | Monthly to quarterly (depending on use/pets) | Low — prevents airflow-related inefficiency |
| Coil cleaning (indoor/outdoor) | Annually; more often in dusty/coastal areas | Medium — preserves heat transfer and reduces runtime |
| Refrigerant pressure check and leak test | Annually or if performance degrades | High if leaks present — prevents compressor damage |
| Electrical inspection (capacitors/contactors) | Annually | Medium — avoids sudden electrical failures |
Conclusion
Effectively troubleshooting heat pump issues not only enhances comfort but also prolongs the lifespan of your HVAC system, ultimately saving you money on energy bills. By understanding common problems and their solutions, homeowners can take proactive steps to maintain their systems and avoid costly repairs. For those facing persistent issues, seeking professional assistance ensures that your heat pump operates at peak efficiency. Explore our expert services today to keep your home comfortable year-round.


